

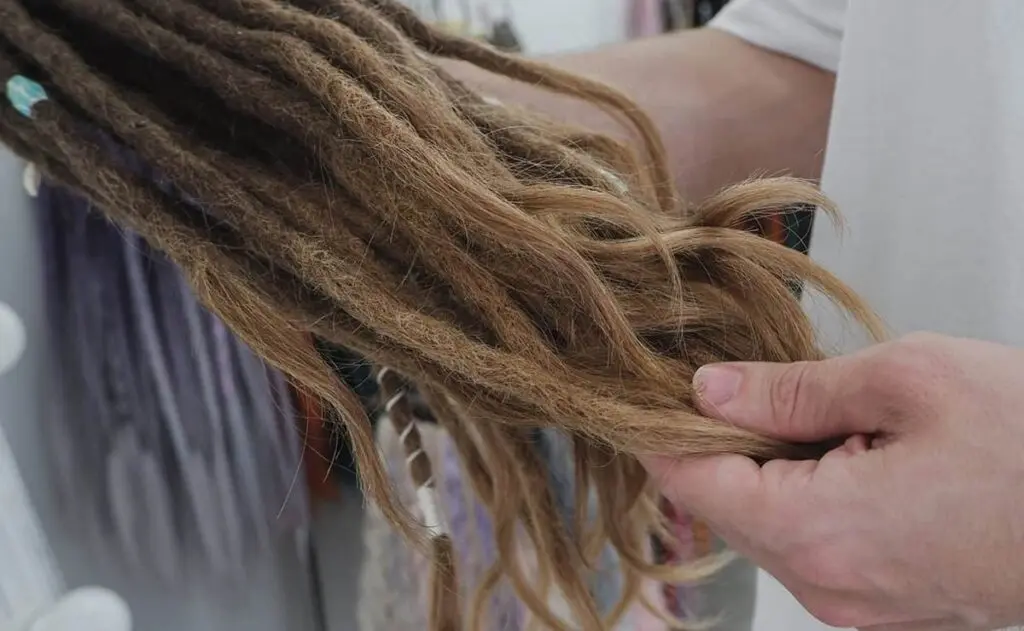
Starting dreadlocks with your own hair takes a day or more of work and about a month of patience. Here is how we do it in the Daddy Dreads studio: how to prepare your hair, the crochet method step by step and how long a full head takes. You will also learn what the first weeks look like and when you can wash your new dreads. We have been making dreads this way for more than 13 years.
Preparing Your Hair for Dreadlocks
Hair Length
Your hair should be at least 7 cm (about 3 inches) long. Shorter hair is hard to lock and does not hold well. Longer hair gives you more freedom with the size and thickness of the dreads. If your hair is just long enough, read our guide to short dreads.
Wash Without Conditioner
Before you start, wash your hair with your usual shampoo and skip the conditioner, masks and oils. They make the hair slippery, and slippery hair does not tangle. Let your hair dry completely before you begin.
No Wax, No Oils
We do not use wax or oils on dreads. They collect dust and make dreads hard to wash. A comb and a crochet hook are enough. Dreads made this way are easy to wash, soft to the touch and free of residue.
Choosing the Style and Thickness
- Crochet dreadlocks: made with a comb and a crochet hook. They are even and neat, suit most hair types and last for years.
- Freeform dreadlocks: the hair locks on its own with almost no work. No tools are needed, but the dreads come out in different sizes and textures.
- Sisterlocks: very thin, flexible dreads, often on Afro-textured hair. A head can have more than 100 of them.
The size of each section decides how thick your dreads will be. A 2×2 cm section gives medium dreads. A 1×1 cm section gives thin dreads, but it does not suit every hair type. Avoid sections larger than 4×4 cm: such dreads look sparse and the scalp shows between them. For ideas, look through our work on Instagram at @daddy__dread and in the natural dreadlocks catalog.
Tools You Need
- A comb with fine teeth for backcombing.
- A crochet hook of 0.4–0.45 mm to lock the hair without damaging it. Thicker hooks do not give a neat finish.
- Small silicone rubber bands to keep the sections apart while you work.
The Daddy Dreads Method Step by Step
Step 1: Section Your Hair
Divide your hair into square sections of the size you chose. Even squares give even dreads. Secure each section with a rubber band.
Step 2: Backcomb Each Strand
Rub the section between your palms to start the tangle. Then hold it taut and slide the comb towards the scalp again and again, starting close to the roots, until the whole strand is tangled.
Step 3: Lock It with a Crochet Hook
With the 0.4–0.45 mm hook, pull the loose hairs into the tangle, working in small circular motions. This is what makes the dread tight and even along its whole length.
Step 4: Roll and Repeat
Roll the finished dread between your palms to smooth it. Repeat the same steps for every section until the whole head is done.
Freeform Dreadlocks
If you prefer a natural look and little work, let your hair lock on its own. Wash it regularly, do not comb it and avoid products that stop the hair from tangling. When the hair starts to tangle, gently pull the knots apart so that each dread forms separately. A little palm rolling keeps the dreads from getting too bulky.
How Long Does It Take to Start Dreadlocks?
It depends on how many dreads you want, how long your hair is and how thick it is. A full head of natural dreads usually takes 1 to 4 days, with about 10 hours of work each day. On average, a full head takes 15–25 hours of work.
The First Weeks: What to Expect
Right after they are made, natural dreads still look more like tangled hair than finished locks. For the first couple of weeks they are fluffier, and they stay fairly fuzzy for the whole first month. This is normal.
It takes about a month for the hair to start felting. We call this settling: the dreads become more uniform and dense, like felt. After the first month they look much more even.
When Can You Wash New Dreadlocks?
Wait about 3 weeks before the first wash. These 2–3 weeks are the time your dreads need to settle. If you get itching or dandruff, wash earlier, for example after two weeks.
Once your scalp has got used to the dreads, wash them every 7–14 days. Danila, the founder of Daddy Dreads, washes his own dreads every 10 days.
- Use a shampoo that leaves no residue: leftover product attracts dust.
- Dry your dreads completely. They take longer to dry than loose hair, and damp dreads start to smell musty.
- Never go to bed with wet dreads.
More tips are in our guide on how to wash your dreadlocks.
Correction: When to Retwist Natural Dreads
About a month after your dreads are made, we recommend the first correction. It tucks the loose hairs back in so the dreads do not frizz. After that, a correction is usually needed every 3–4 months. It is done mostly at the roots, and sometimes the length is evened out too.
How often you need it depends on two things:
- How tight the dreads were made. Tighter dreads are less mobile, but they are more even and frizz less, so they need correction less often.
- How often you wash. The more often you wash, the more the dreads frizz. Washing less often means less frizz.
The correction method is explained in our guide on how to retwist dreads and shown step by step in the natural dreadlock maintenance course.
Root Care Between Corrections
Once a week, hold the root of each dread between your fingers, gently press it against the scalp and massage for 5–10 seconds. It helps the roots lock. For a full head this takes 30–60 minutes.
Itching and Scalp Care
The most important rule: never scratch your scalp with your nails. If it itches badly, gently massage it with your fingertips. Nails injure the skin.
- A soothing scalp product helps with itching.
- You can also spray the scalp with an antiseptic.
- If itching or dandruff does not go away, wash your hair earlier than planned.
- If you swim in a lake or a pond, rinse your dreads with clean water afterwards and dry them well.
Accessories and Styling
Once your dreads have settled, you can add beads made of wood, stone or glass, colorful wraps, or style them into buns and braids for special occasions.